Preparing your car for shipping takes about 30 minutes and involves washing it, documenting its condition, removing personal items, and handling a few mechanical basics. Skip these steps and you risk delays, damage disputes, and unnecessary stress. Follow them and your shipment will go smoothly from pickup to delivery.
TL;DR
- Wash your car and take dated photos of every panel, corner, and existing scratch
- Remove all personal items (carriers aren't liable for loose belongings)
- Leave gas tank at 1/4 full, check tire pressure and fluids
- Disable alarm systems and remove toll transponders
- Keep one key with the carrier and one with you
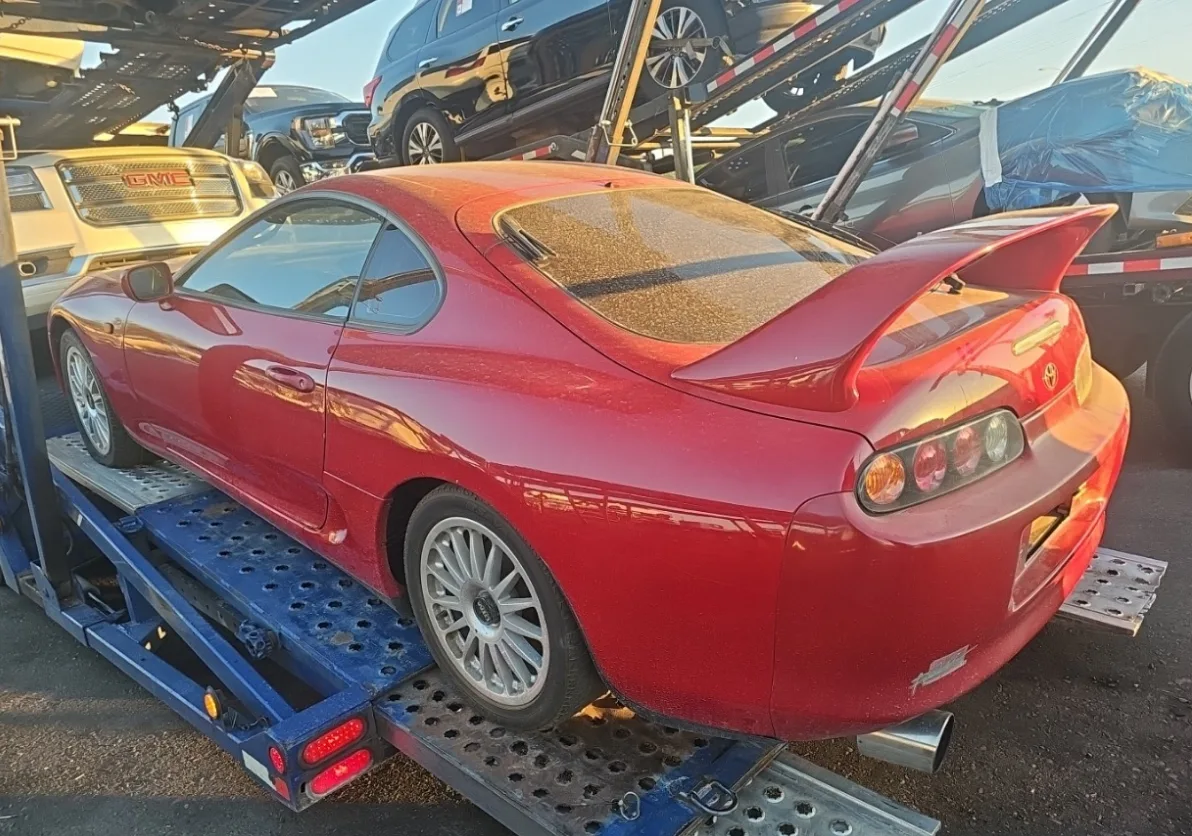
Step 1: Wash Your Vehicle Thoroughly
A clean car makes it easy to spot existing damage before shipping and to identify any new issues at delivery.
This isn't about vanity. A clean vehicle creates a clear baseline for the pre-shipping inspection. When your car is covered in dirt, mud, or road grime, small scratches, dents, and paint chips hide underneath. That makes it nearly impossible to determine whether damage happened during transport or was already there.
Give the car a full wash, including the wheels, rocker panels, and bumpers. Pay extra attention to the lower portions of the body where road debris tends to leave marks. If you have time, a quick detailing pass on the paint will make any existing imperfections stand out clearly in your pre-shipping photos.
Step 2: Document the Condition with Photos
Take 30 to 40 dated photos covering every angle, panel, and existing blemish before your car goes on the trailer.
Walk around the entire vehicle with your phone camera. Shoot each side, front, rear, roof, and each corner at a 45-degree angle. Then zoom in on any existing damage: scratches, dents, chips, curb rash on wheels, cracks in the windshield. Get close-up shots with enough context to identify where the damage is located.
Make sure your phone's date stamp is on, or text the photos to yourself so they're time-stamped. These photos are your insurance policy if there's ever a dispute about pre-existing damage. In our 15 years at Bronco Car Hauling, the customers who document their vehicle thoroughly are the ones who resolve any issues fastest.
Step 3: Remove All Personal Belongings
Carriers are not responsible for personal items inside your vehicle, and loose objects can shift during transit and cause interior damage.
Take out everything that isn't permanently attached to the car. This means phone chargers, sunglasses, GPS units, dashcams, garage door openers, parking passes, and anything in the trunk or backseat. A loose water bottle rolling around during a 2,000-mile trip can scratch your center console or crack a cupholder.
There's also a weight consideration. The Federal Motor Carrier Safety Administration (FMCSA) has strict weight limits for transport trailers. Extra weight from personal items adds up across multiple vehicles and can put the carrier over their legal limit.
Step 4: Handle Mechanical Preparation
Check tire pressure, fluid levels, and battery charge, then fill the gas tank to only 1/4 full.
Your tires need to hold air for the entire trip. Low or flat tires make loading and unloading difficult and can cause damage to the tire or wheel during the process. Check all four tires and the spare if accessible.
Top off any critical fluids (coolant, brake fluid, power steering) and make sure the battery holds a charge. The carrier needs to start and move your vehicle at pickup and delivery. If your car has a known starting issue, tell your transport coordinator so the driver is prepared.
Keep the gas tank at about 1/4 full. A full tank adds 100+ pounds of unnecessary weight. An empty tank can cause issues if the driver needs to move the car at the destination. A quarter tank strikes the right balance.
Step 5: Disable Alarms and Remove Accessories
Aftermarket alarms that trigger from vibration will go off on the trailer, and toll transponders will rack up charges along the route.
If your car has an aftermarket alarm system, disable it completely. The vibrations from highway travel will absolutely trigger it, and a blaring alarm on a multi-car trailer at 2:00 AM is not something any driver wants to deal with. Factory alarms tied to the key fob are generally fine since the driver will have your key.
Remove any toll transponders (E-470, Express Toll, EZ-Pass, SunPass, etc.) from your windshield. The carrier's route may go through toll plazas, and your transponder will pick up every charge. That's an unpleasant surprise when the bill shows up.
Also retract or remove custom antennas, detach bike racks, cargo boxes, and any aftermarket accessories that extend beyond the vehicle's normal profile. These can contact other vehicles on the trailer or the trailer structure itself during loading.
Step 6: Prepare Your Keys and Documents
Provide one working key to the driver and keep a spare for yourself, and have your registration and insurance info accessible.
The carrier needs a key that starts the car and opens the doors. If your vehicle uses a push-button start with a proximity key, test that the key works manually as well (most have a physical key inside the fob for emergencies).
Have a copy of your registration available. Some states require proof of registration at vehicle checkpoints, and the carrier may need it. You don't need to hand over your title or any financial documents.
Step 7: Note Existing Damage on the Bill of Lading
The Bill of Lading (BOL) is the official condition report. Review it carefully at pickup and note every existing mark, scratch, or dent.
When the driver arrives, they'll walk around your vehicle and fill out a condition report on the BOL. This is your most important document for the entire shipment. Walk the vehicle with the driver and make sure every pre-existing issue is noted: scratches, dents, chips, scuffs, cracked lights, anything.
Compare the BOL notes to your photos. If the driver missed something, speak up. Both you and the driver will sign the BOL, and this signed document is what insurance companies reference if a damage claim ever comes up.
What to Leave In (and What to Take Out)
Leave the floor mats, spare tire, and jack. Take out everything else.
Items that are fine to leave: floor mats, spare tire and jack (factory installed), child seat bases (securely installed), and the owner's manual in the glove box. Items to remove: all electronics, loose items in the console and door pockets, aftermarket dash cams, suction-mounted GPS units, hanging air fresheners, and anything in the trunk that isn't bolted down.
If you're moving to another state and want to pack some essentials in the trunk, ask your transport company first. Some carriers are flexible about small amounts of cargo in the trunk as long as it's under the weight limit and packed below the window line.
Day-of Pickup: Final Checklist
On pickup day, do a final walk-around, hand over the key, sign the BOL, and get the driver's contact information.
Give the car one last look. Check that personal items are out, the alarm is off, the gas is around 1/4 tank, and the keys work. Take a final round of photos just before the driver loads the vehicle.
Get the driver's name and phone number. Your Bronco Car Hauling coordinator will also be available throughout the shipment, but having direct contact with the driver is helpful for last-minute delivery logistics. Ask for an estimated arrival window and confirm the delivery address one more time.
That's it. Thirty minutes of preparation protects your vehicle and sets the stage for a stress-free shipping experience. If you're ready to book, get your free quote here or call us at 719-249-6543.
Last updated: April 1, 2026